
Hello there!
For me, it is always fun creating things myself. I love the concept of D.I.Y because you can create new things in your own way and it is a cheap method as well.
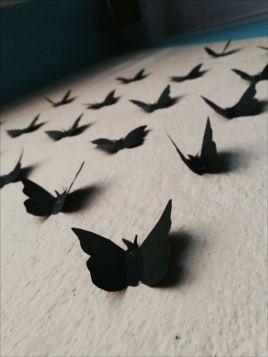
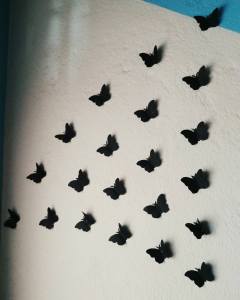
Today, I made paper butterflies for room decor. It was very easy and didn’t take much time and it turned out so so beautiful on my wall. Let’s see how I made it 🙂
Things you will need:

- A printed outline of a butterfly( you can draw yourself as well)
- Scissors
- Pencil/marker pen
- Colored paper of your choice
- Glue (to stick it on the wall)
Here we go:
- Take the outline of your butterfly and cut it according to the shape.


- Take the butterfly cut-out and put it above your colored paper. Start outlining the butterfly cut-out on the colored paper with a pencil or a marker pen.

- Take your scissors and cut through the outline of the colored paper.

- Your paper butterflies are now ready.
- To make it look more real and three-dimensional, vertically fold the paper butterflies into two halves. .

- Use glue to stick them on your walls. A little hack here: you can also use toothpaste as glue to stick them. This way the wall remains free of paper residue after you take the paper butterflies off the wall.
I hope you guys liked this D.I.Y. and let me know what you think about this. If you guys made one for yourself do send me a picture 🙂
